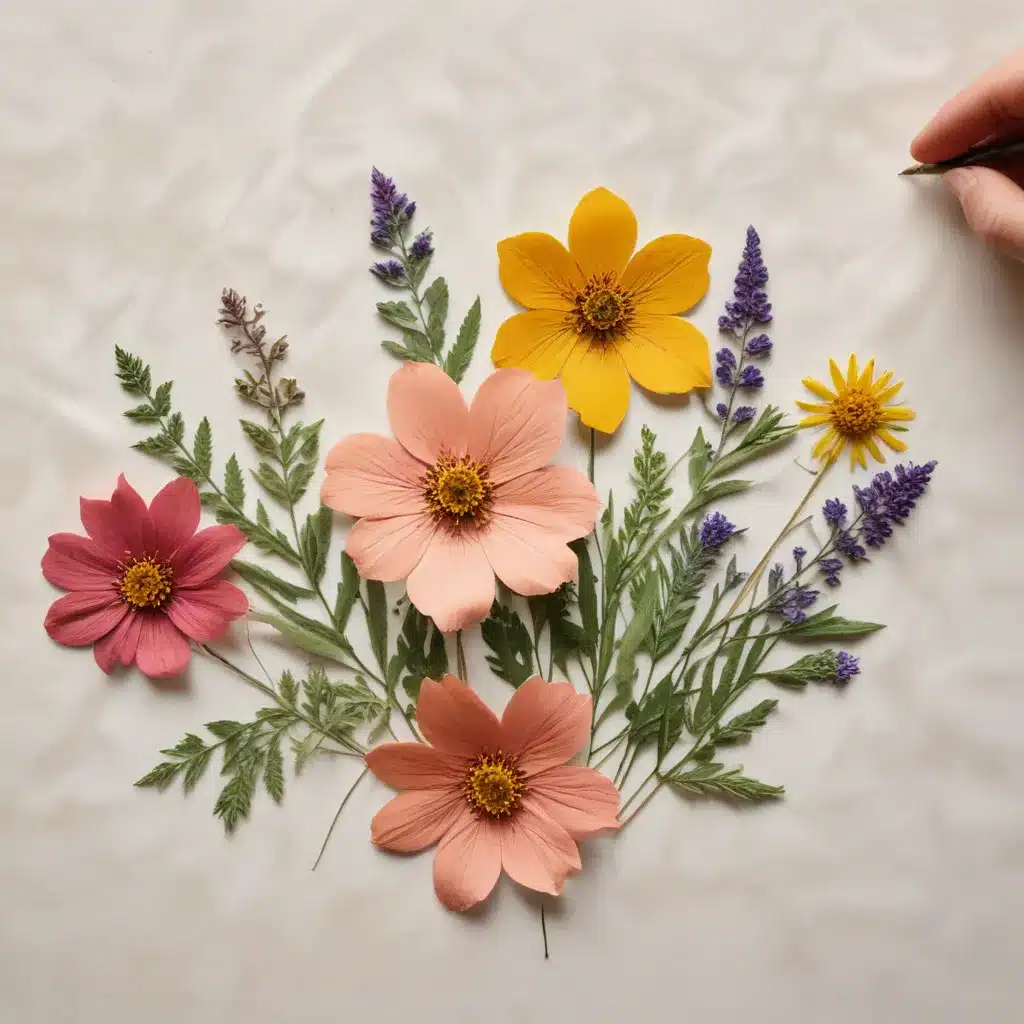
Creating Pressed Flower Artwork
Preserving the natural beauty of flowers is a time-honored tradition, and creating pressed flower artwork is a wonderful way to bring that timeless charm into your home. At Crooked Pines Farm, we love exploring the art of pressed flowers – from delicate blooms to lush greenery, the possibilities are endless for crafting one-of-a-kind botanical displays.
Types of Flowers for Pressing
When it comes to pressed flower art, not all blossoms are created equal. Flowers with a single layer of petals, such as pansies, violas, cosmos, and daisies, typically press flat and retain their vibrant colors. Hydrangea florets, anemones, and even some weeds can also make stunning pressed specimens.
For a more dimensional look, you can experiment with thicker, multi-layered flowers like roses, peonies, and zinnias, but these may require a bit more effort to press successfully. Just be sure to avoid high-moisture blooms like begonias and succulents, as they are prone to molding during the drying process.
Don’t forget about the beauty of foliage as well! Ferns, herbs, and delicate grasses can add lovely textures and accents to your pressed flower arrangements. The key is to select a variety of shapes, sizes, and hues to create visually interesting compositions.
Flower Pressing Techniques
There are a few different methods for pressing flowers, each with its own advantages. The traditional approach involves using a dedicated flower press – a wooden frame with absorbent paper or cardboard layers that you can tighten with wing nuts to apply even pressure. This helps ensure your botanicals dry flat and maintain their shape.
For a more improvised solution, you can also press flowers between the pages of heavy books. Simply arrange your blooms and leaves between sheets of blotting paper or newspaper, then stack books on top to weigh them down. This works well, especially if you don’t have access to a formal flower press.
Whichever technique you choose, the key is to be patient and allow ample time for your flowers to fully dry – typically 2-4 weeks, depending on the thickness and moisture content of the specimens. Checking on them periodically and adjusting the pressure as needed will help ensure the best results.
Preparing Flowers for Pressing
Flower Selection and Preparation
When gathering flowers for your pressed artwork, look for specimens that are in peak condition – free of damage, pests, or discoloration. Ideally, you’ll want to press the blooms immediately after picking, as this helps preserve their vibrant hues. Gently clean the flowers and leaves, removing any dirt or debris, then allow them to fully air-dry before placing them in your press.
Flower Arrangement Considerations
As you arrange your pressed botanical elements, think about the overall composition. Symmetrical designs can create a sense of order and balance, while asymmetrical layouts lend a more dynamic, naturalistic feel. Experiment with combining different flower varieties, sizes, and textures to add visual interest and depth to your artwork.
Pressing and Drying Flowers
Pressing Methods and Materials
Whether you’re using a dedicated flower press or the book method, the basic process is the same. Begin by placing your clean, dry flowers and leaves between sheets of absorbent paper, such as parchment, newsprint, or thin cardboard. Carefully close the press or stack the heavy books, ensuring even pressure across the page.
For the best results, check on your pressed specimens every few days, gently adjusting the pressure as needed. The drying time can vary, but most flowers will be ready in 2-4 weeks, depending on their thickness and the humidity levels.
Monitoring the Drying Process
As your flowers dry, keep an eye out for any signs of excess moisture or mold. If you notice the specimens sticking to the paper, that’s a good indication they need a bit more time in the press. On the other hand, if they seem overly dry and brittle, you may need to loosen the pressure slightly.
Incorporating Pressed Flowers into Artwork
Mounting and Adhesives
Once your flowers are fully dried, it’s time to start assembling your pressed flower artwork. Gently remove the specimens from the paper, taking care not to damage the delicate petals and leaves. Use a small paintbrush or cotton swab to apply a thin layer of clear, acid-free craft glue to the back of each piece, then carefully position them on your desired mounting surface, such as archival-quality cardstock or watercolor paper.
Design Inspirations
The beauty of pressed flower art lies in its organic, natural aesthetic. Arrange your blooms and foliage in visually striking patterns, whether that’s a symmetrical grid, a cascading floral arrangement, or a more abstract, minimalist composition. Don’t be afraid to experiment with different placements and combinations to find the look that best suits your style.
Displaying Pressed Flower Artwork
Framing Considerations
When it comes to showcasing your pressed flower masterpieces, thoughtful framing can make all the difference. Look for frames with a deep enough profile to accommodate the dimensional nature of the dried botanicals, and consider using a double mat to create a lovely layered effect. To protect your artwork from fading over time, choose a frame with UV-blocking glass or acrylic.
Presentation Techniques
Pressed flower art can be displayed in a variety of ways, from classic wall hangings to more unexpected tabletop or dimensional displays. For a striking, gallery-inspired look, group several framed pieces together. Alternatively, you can create a botanical-inspired collage by adhering your pressed flowers directly onto a wall or corkboard. Get creative with the presentation, and let your unique pressed floral creations shine!
At Crooked Pines Farm, we believe that preserving the beauty of nature through pressed flower art is a wonderful way to bring a touch of the outdoors into your home. Whether you’re a seasoned botanical enthusiast or just starting to explore this captivating craft, we hope this guide has inspired you to create your own one-of-a-kind pressed flower masterpieces. Happy pressing!


