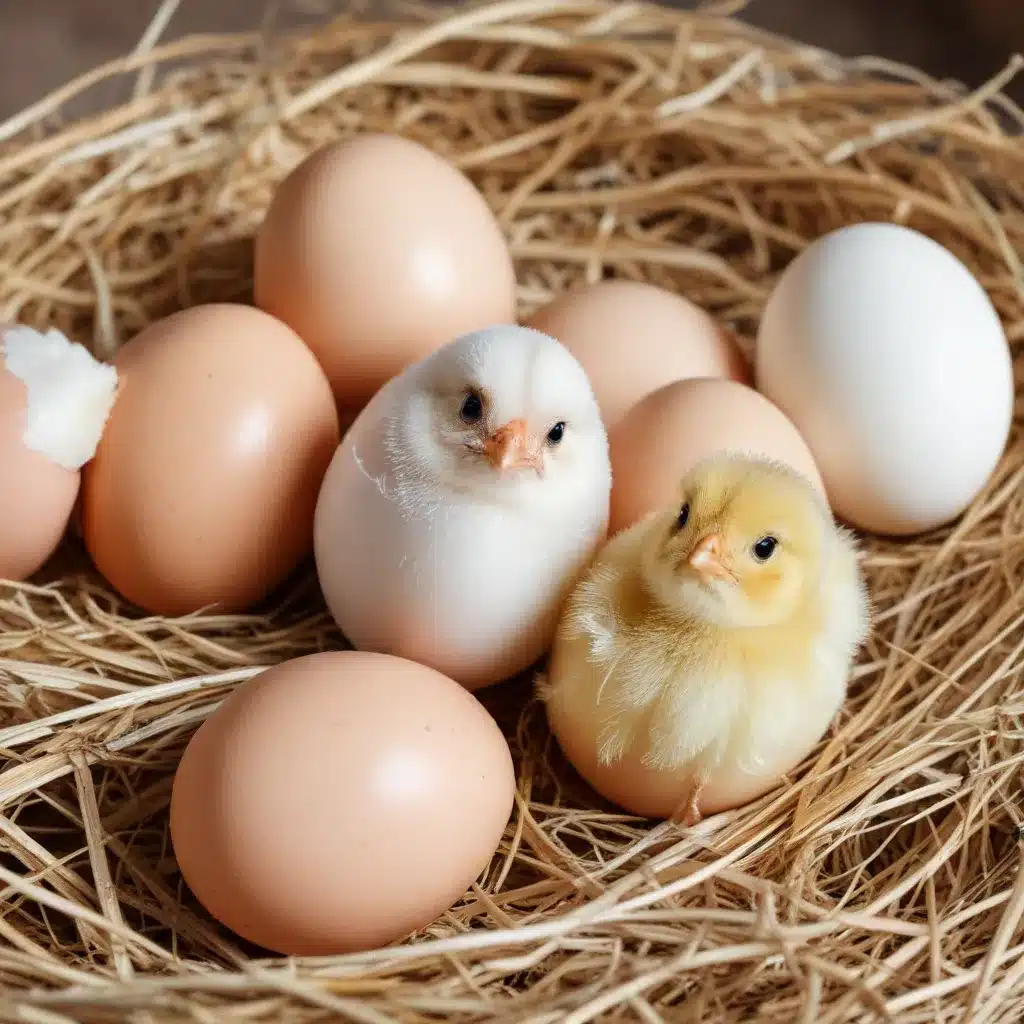
Bringing chicks to the classroom is an incredible opportunity for students to learn about life cycles, animal husbandry, and the wonders of nature. At Crooked Pines Farm, we believe that hands-on experiences with living creatures can foster a deep appreciation for the natural world and inspire the next generation of farmers, scientists, and caretakers.
Egg Acquisition and Preparation
The first step in your classroom chick hatching project is to source fertilized eggs from a reputable poultry breeder or farm. Avoid using store-bought eggs, as they are typically not fertile and will not hatch. Once you have your eggs, you’ll need to set up an incubator to provide the optimal temperature, humidity, and airflow for the developing embryos.
Properly maintaining the incubator is crucial for a successful hatch. Monitor the temperature and humidity levels closely, making adjustments as needed to ensure the eggs stay within the ideal range. You may also want to consider adding an egg turner to gently rotate the eggs several times a day, mimicking the natural movements of the mother hen.
Chick Embryo Development
As the eggs incubate, your students can observe the fascinating process of embryonic development. Using a candler to shine a light through the eggshell, they can see the gradual formation of the chick’s body parts, including the heart, eyes, and feathers. This hands-on exploration will captivate young learners and deepen their understanding of avian biology.
Encourage your students to keep detailed observations and drawings of the chick’s progress. They can track the changes they see over the 21-day incubation period, noting key milestones like the appearance of the air sac, the development of the beak, and the final pipping of the shell as the chick prepares to hatch.
Classroom Incubation and Hatching
When the big day arrives, your students will be thrilled to witness the miraculous hatching process. As the chick begins to break free from its shell, it will use its egg tooth to chip away at the air cell and create a small hole. Gradually, the chick will push and struggle until it has fully emerged, often taking several hours to complete this remarkable feat.
Maintaining the proper temperature and humidity levels in the incubator during this critical time is essential. Sudden changes can disrupt the hatching process and put the chick’s health at risk. Encourage your students to observe the hatch with patience and wonder, marveling at the chick’s instinctive behaviors and the resilience of this new life.
Chick Care and Handling
Once the chicks have hatched, you’ll need to set up a brooding area equipped with a heat lamp, feed, and water to keep them warm, fed, and hydrated. Introduce your students to the proper techniques for handling and caring for the delicate hatchlings, emphasizing the importance of gentle touch and calm movements.
Teach your students about the chicks’ basic needs, including their dietary requirements, bedding preferences, and socialization needs. Encourage them to interact with the chicks in a supervised and controlled environment, allowing the birds to become accustomed to human presence and touch.
Curriculum Connections
The chick hatching project offers a wealth of educational opportunities across various subject areas. In science, students can explore life cycles, embryonic development, and animal adaptations. In mathematics, they can calculate hatch rates, measure egg dimensions, and graph the chicks’ growth over time.
Integrate the hatching project into your language arts curriculum by having students write research reports, poetry, or stories inspired by their experiences. In the arts, they can create drawings, paintings, or sculptures depicting the chicks’ features and behaviors.
Student Engagement and Learning
Hands-on experiences like the chick hatching project ignite students’ natural curiosity and wonder. By actively participating in the process, they develop a deeper understanding and appreciation for the natural world. Encourage your students to ask questions, make predictions, and share their observations, fostering a collaborative learning environment.
Utilize technology to enhance the experience, such as setting up a live-stream camera to allow students to monitor the eggs and chicks even when they’re not in the classroom. Consider connecting with other schools or community groups to share your hatch and learn from their experiences.
Classroom Management Considerations
Integrating live animals into the classroom requires careful planning and consideration of biosafety and hygiene protocols. Establish clear rules and procedures for hand-washing, cleaning, and chick handling to ensure the safety and well-being of both the students and the chicks.
Coordinate with your school administration to address any logistical concerns, such as the relocation of the chicks after the project is complete. Engage parents and families in the experience, inviting them to observe the hatch or participate in care and feeding activities.
Extending the Learning Experience
The chick hatching project is just the beginning of a rich and immersive farm-based learning experience. Encourage your students to continue their exploration by visiting Crooked Pines Farm, where they can learn about sustainable agriculture, ecological conservation, and the daily rhythms of farm life.
Encourage your students to share their newfound knowledge and passion with the wider community. They can create educational displays, presentations, or social media campaigns to raise awareness about the importance of animal welfare and environmental stewardship.
By bringing the wonder of nature into the classroom, you’re not only providing an unforgettable learning experience for your students but also sowing the seeds for a future generation of compassionate caretakers and responsible stewards of the land.


