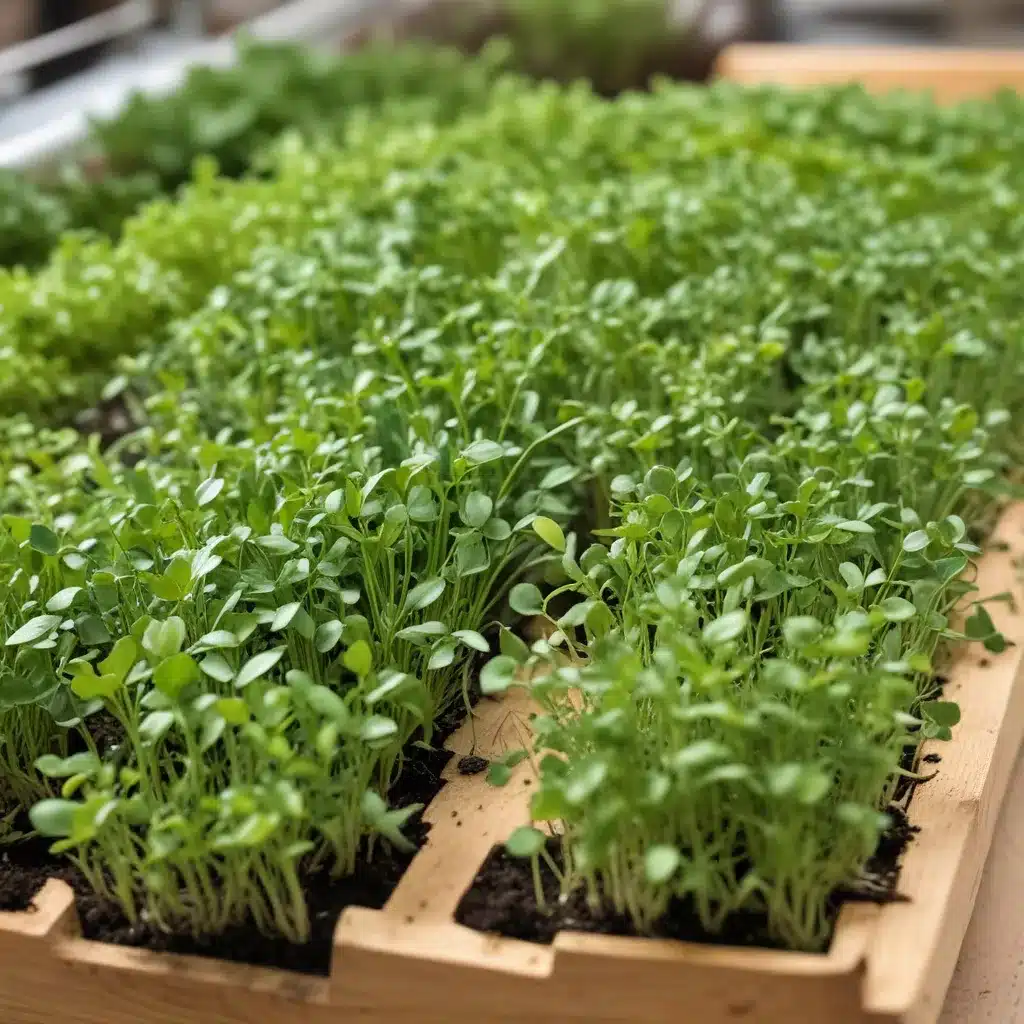
As a farm educator, I’m excited to share the joys of growing microgreens – those delightfully tender, nutrient-packed seedlings that pack a powerful punch in a compact little package. Microgreens have captured the hearts and palates of chefs, nutritionists, and home gardeners alike, and for good reason. Not only are they easy to cultivate, even in the smallest of spaces, but their concentrated nutritional profile puts many mature vegetables to shame.
Microgreens Cultivation
Microgreens are the young, edible seedlings of various vegetable, herb, and even some flower species, harvested just a week or two after germination. While they may look delicate, don’t be fooled – these miniature marvels contain up to 40 times more nutrients than their full-grown counterparts.
Types of Microgreens
The possibilities for microgreen varieties are vast, limited only by your imagination (and available growing space!). Some of the most popular options include broccoli, kale, radish, beet, arugula, basil, and cilantro. But the list goes on, with microgreens available from an array of vegetable families, each offering its own unique flavor and nutritional profile.
Broccoli microgreens, for example, are a standout due to their remarkable concentration of the compound sulforaphane – a powerful antioxidant and anti-inflammatory agent. Similarly, red cabbage and kale microgreens boast exceptional levels of vitamins, minerals, and other beneficial plant compounds.
When selecting your microgreen varieties, consider not only your personal taste preferences but also the potential health benefits. A diverse array of microgreens can provide a veritable treasure trove of essential nutrients to nourish both body and mind.
Indoor Growing Environment
One of the great advantages of microgreens is their ability to thrive indoors, making them an excellent choice for year-round cultivation, even in the depths of winter. To create the optimal growing conditions, you’ll want to focus on temperature, humidity, and lighting.
Controlled Conditions for Microgreen Growth
Microgreens prefer a cozy environment, with temperatures ranging from 65-75°F and a relative humidity around 50-70%. Providing the right lighting is crucial, as microgreens need a consistent 16 hours of illumination per day to develop properly. While a sunny windowsill may work in some cases, LED grow lights are the most reliable and efficient option for indoor growers.
Grow Media and Containers
When it comes to the growing medium, high-quality potting soil or a soilless seed-starting mix is the way to go. Avoid heavy, dense substrates that could waterlog the delicate roots. Shallow microgreen trays with drainage holes are the ideal containers, as they allow for even moisture distribution and efficient air circulation around the plants.
Cultivation Techniques
Successful microgreen cultivation requires a bit of hands-on practice, but the rewards are well worth the effort. Let’s dive into the key steps, from sowing the seeds to harvesting the lush, nutritious greens.
Seed Sowing and Germination
Prepare your growing trays by filling them with your chosen growing medium, then sow the seeds evenly across the surface. A good rule of thumb is to use around 10-12 seeds per square inch. Lightly cover the seeds with a fine layer of vermiculite or additional growing mix to help retain moisture.
During the germination phase, keep the soil consistently moist by misting or bottom-watering, and provide ample airflow to prevent the development of mold or damping-off issues. Most microgreens will sprout within 3-5 days, at which point you can remove any humidity domes or coverings.
Microgreen Harvesting and Processing
The magic happens around 10-14 days after sowing, when the microgreens are ready to harvest. Using a sharp pair of scissors or a specialized microgreen harvesting knife, simply snip the tender stems and leaves just above the soil line. If you’d like to prolong the harvest, you can cut a portion of the tray at a time, allowing the remaining microgreens to continue growing.
After harvesting, gently clean the microgreens and store them in the refrigerator for up to a week, enjoying their fresh, vibrant flavor and nutritional punch.
Benefits of Microgreen Cultivation
The virtues of microgreens extend well beyond their captivating appearance and delightful taste. These tiny treasures offer a host of benefits that make them a remarkable addition to any farm, garden, or kitchen.
Nutritional Advantages of Microgreens
As mentioned earlier, microgreens can contain up to 40 times more nutrients than their mature counterparts. This is due to the plants’ intense growth phase, during which they channel an abundance of essential vitamins, minerals, and antioxidants into their diminutive frames. Incorporating a variety of microgreens into your daily diet can provide a veritable feast of health-promoting compounds.
Economic Opportunities in Microgreen Farming
For farmers and small-scale growers, microgreens present an exciting economic opportunity. With their rapid growth cycle and compact footprint, microgreens can be a highly profitable crop, often yielding $500 or more per week from a single 5-level rack just 6 square feet in size. As the demand for these nutrient-dense greens continues to climb, savvy farmers and budding entrepreneurs would do well to consider adding microgreens to their crop rotation.
Whether you’re a seasoned farmer, a passionate gardener, or a curious home cook, mastering the art of microgreen cultivation can open up a world of culinary and nutritional possibilities. With their vibrant colors, intense flavors, and unparalleled health benefits, these diminutive delights are sure to become a staple in your kitchen and on your farm. So why not get growing and discover the joys of microgreens for yourself?


