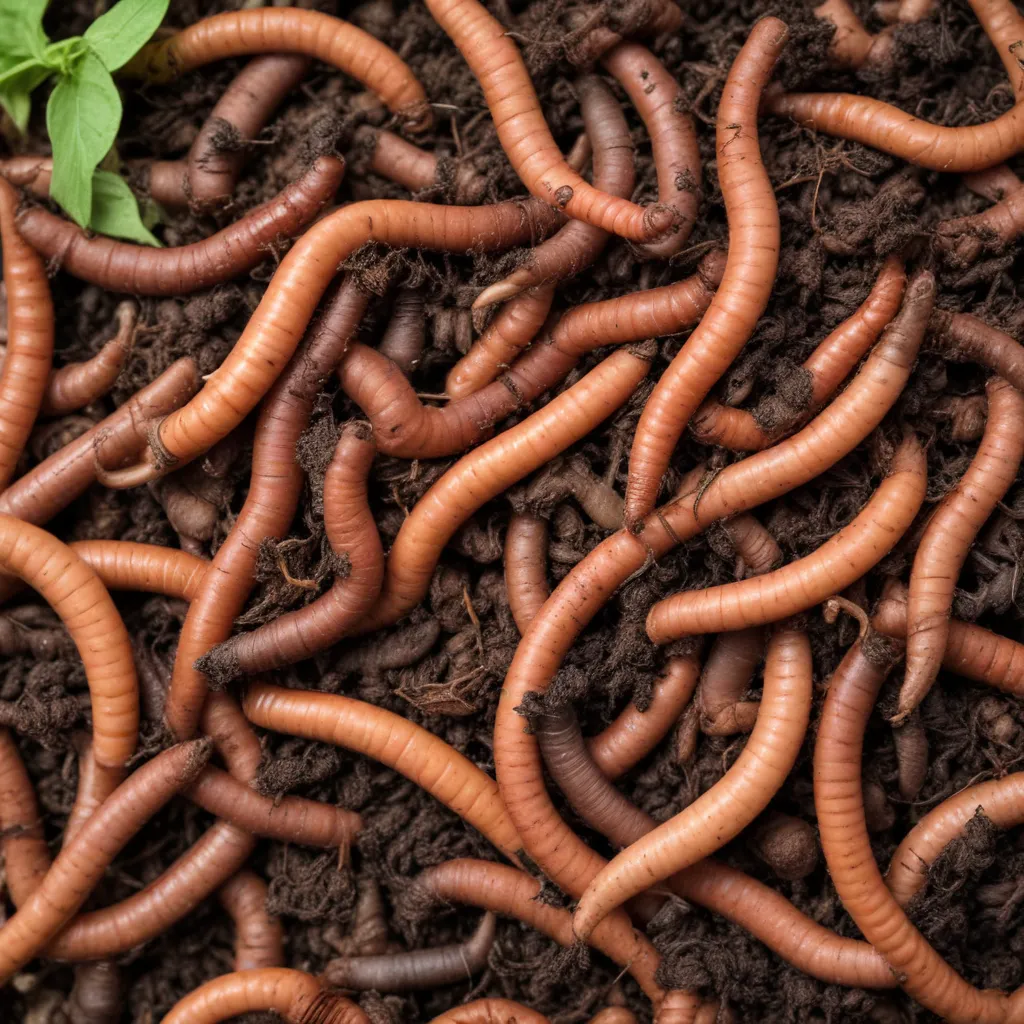
Vermiculture: Composting with Worms for Healthy Soil
Cultivating a thriving garden requires more than just tending to the plants – it’s essential to nurture the soil as well. One of the most effective and rewarding ways to do this is through vermiculture, the practice of composting with the help of worms. At Crooked Pines Farm, we’ve embraced vermiculture as a cornerstone of our sustainable approach to growing vibrant, nutrient-dense produce.
The Benefits of Vermiculture
Worm castings, the nutrient-rich end product of vermiculture, are a gardener’s dream come true. These small but mighty packages are brimming with essential plant nutrients, beneficial microbes, and soil-enhancing organic matter. When incorporated into garden beds or potting mixes, worm castings work wonders, improving soil structure, water retention, and nutrient availability for your plants.
But the benefits of vermiculture don’t stop there. By diverting food scraps and other organic waste from the landfill and transforming them into a valuable soil amendment, you’re also contributing to a more sustainable, closed-loop system on your farm or in your backyard. Worms are nature’s ultimate recyclers, gobbling up everything from fruit peels to shredded newspaper and converting it into a dark, earthy-smelling compost that plants adore.
Choosing the Right Worms
Not all worms are created equal when it comes to vermiculture. The most common and effective species for composting are red wiggler worms (Eisenia fetida), European nightcrawlers (Eisenia hortensis), and Indian blue worms (Perionyx excavatus). These worms thrive in the moist, nutrient-rich environment of a worm bin or vermicomposting system, rapidly processing organic matter into nutrient-dense castings.
When starting your own vermiculture setup, it’s best to purchase your worms from a reputable supplier like Uncle Jim’s Worm Farm or a local worm grower. Avoid using standard fishing worms, as they may not be as well-suited for the task. A good rule of thumb is to begin with 1,000-2,000 worms (about 1-2 pounds) for a 35-gallon bin.
Setting Up Your Worm Bin
The key to successful vermiculture is providing your worms with a comfortable, well-designed habitat. Start with a sturdy, opaque plastic bin or tote, ideally in the 35-55 gallon range. Drill a few dozen small holes around the sides near the top to allow for air circulation, and avoid drilling any holes in the bottom, as you don’t want the worms to escape.
Next, add your bedding material. Good options include shredded newspaper, coco coir, dry leaves, and shredded cardboard. Aim to fill the bin about a quarter full, then lightly moisten the bedding until it has the consistency of a wrung-out sponge. This damp but not sopping wet environment is ideal for your worms to thrive.
Once your bin is set up, it’s time to introduce your worms. Gently place them on top of the bedding, then cover with a few sheets of damp newspaper or a burlap sack. This helps the worms burrow down into their new home and reduces the chances of them trying to escape.
Maintaining a Healthy Vermicompost System
Keeping your worm bin in tip-top shape requires a balance of food, moisture, and aeration. Feed your worms a diverse diet of fruit and vegetable scraps, coffee grounds, shredded paper, and other carbon-rich “brown” materials. Avoid acidic foods, meat, and dairy, as these can upset the pH balance in your bin.
The ideal feeding ratio is about 2-3 parts browns (carbon) to 1 part greens (food scraps). Start by adding just a small amount of food at a time, and monitor how quickly your worms consume it. Adjust the quantity as needed to prevent overfeeding and the development of anaerobic conditions or foul odors.
Moisture levels are also crucial – the bedding should always be damp but never soggy. Use a spray bottle or watering can to lightly mist the bin if it starts to dry out, and be sure to fluff and aerate the bedding regularly with a garden fork or your hands.
Maintaining the right temperature range of 55-85°F is essential for your worms to thrive. In hot climates, keep the bin in a shaded, well-ventilated area or consider moving it indoors during the hottest months. For colder regions, insulate the bin or bring it inside during winter to protect the worms from freezing temperatures.
Harvesting and Using Vermicompost
After 2-3 months, your worm bin should be producing a steady supply of rich, dark vermicompost (worm castings). To harvest, simply separate the worms from the finished compost by setting up a migration system – place fresh bedding and food on one side of the bin, and the worms will gradually move over to that side, leaving the mature compost behind.
Sift the vermicompost to remove any remaining worms or larger particles, then incorporate it into your garden beds, potting mixes, or seed starting medium. A little goes a long way – aim for a 10-20% ratio of vermicompost to soil or potting mix. The nutrient-dense castings will work wonders for your plants, promoting vigorous growth, vibrant foliage, and bountiful harvests.
You can also brew a nutrient-rich compost tea by steeping the vermicompost in water. This liquid elixir can be used as a foliar spray or soil drench to deliver a quick boost of essential nutrients and beneficial microbes to your plants.
By embracing the power of vermiculture, you’ll not only reduce your farm or garden’s waste stream but also create a renewable source of premium organic fertilizer. The countless benefits of worm composting make it a must-try for any sustainable-minded grower. So why not get started on your own vermiculture system today?
To learn more about setting up and maintaining a worm bin, be sure to visit Crooked Pines Farm for additional resources and inspiration. Happy composting!


